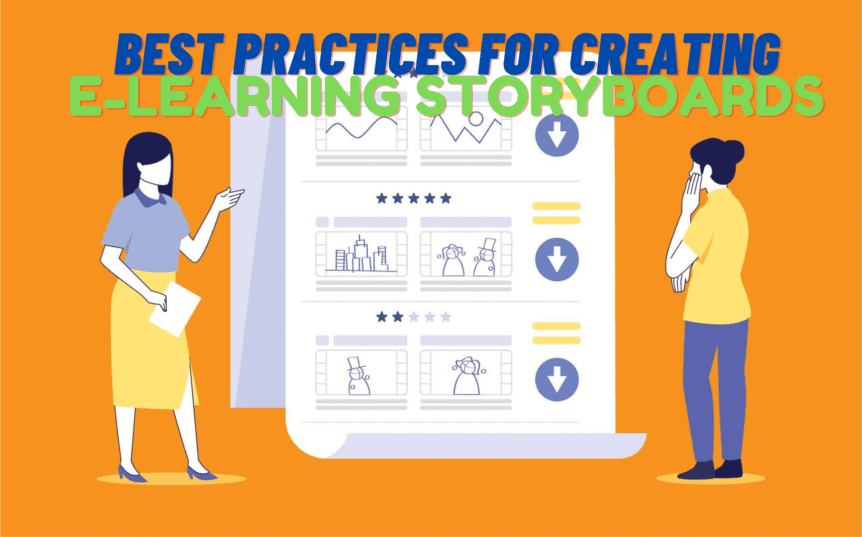
Best Practices for Creating E-Learning Storyboards
Creating an effective storyboard is an essential step in the e-learning development process as it demonstrates the flow of the content, the design of the screens, and the overall learning experience. Ultimately, e-learning storyboards help to organise and present the content of the course, creating a framework for the ongoing development work.
While creating e-learning storyboards has some similarities to the process of creating other types of storyboards (such as video storyboards), e-learning development also has unique requirements.
The following best practices will help ensure your e-learning storyboards are effective.
Define Clear Learning Objectives
Before you start working on the storyboard itself, it is important to identify what you want learners to know or do once they reach the end of the course. This involves defining the learning objectives which, in turn, provide direction for the content of the course and its design.
Some questions to answer that help with this process include:
- Why is the e-learning course being created?
- What do you want to achieve and what are the expected outcomes?
- What are the main objectives?
- What are the benefits for learners?
- Will you be able to effectively engage learners in the topic?
Gather the Content
It is beneficial to gather as much content as you can before starting work on the storyboard. This includes material that currently exists, and it may also include creating new material. For material that can’t be created in full before you start work on the storyboard, there should at least be an outline of what you can expect, including a summary or synopsis and the form the content is going to take, i.e., text, image, infographic, video, etc.
Choose the Right Tool
You will also need to select a tool that you will use to create the storyboard. Most e-learning storyboards are created in the digital space, so well-known tools like MS Word and PowerPoint are common. Specialist storyboard software is also available.
Sketch the Layout
A good starting point is to sketch the layout keeping in mind the content that you have gathered. Even rough sketches in the early stages can help you visualise the placement of elements on the screen, including text, images, and buttons.
Use a Consistent Template
As you progress through the storyboard creation process, it is essential to create a single template and then stick to it for each screen. This will help drive consistency in the design of the e-learning course when the project moves onto the development stage.
Be Descriptive
Storyboards are typically presented to other stakeholders. For example, as an e-learning developer, we regularly present storyboards to our clients. Those presentations can include individuals heavily involved in the process as well as people who have a more peripheral contribution. Therefore, it helps to clearly describe all elements that are being presented in the storyboard, including visuals, animations, interactions, and scripts.
Organise the Content Sequence
There will come a point in the storyboard creation process where you will need to decide on the flow of content. This is one of the most important parts of e-learning storyboard creation, so it is essential to take time to get it right. The flow of content should be natural to facilitate learning, maintain attention levels, and maximise engagement.
The storyboarding stage of your e-learning development project is the ideal time to work on the organisation of content as it is the easiest time to move sections and elements around to get the right fit and flow.
Show the Navigational Element
The content and design style of the e-learning course are important elements to highlight when creating storyboards, but they are not the only elements. You should also highlight the navigational elements and how the learner will move between different screens or sections.
Plan Interactive Activities and Multimedia
Throughout the process, create, revise, and update the multimedia and interactive elements that will be included in the course. Where are the best locations for these elements and how can you use them to maximise the learning experience?
Write Audio and Video Scripts
It is beneficial when creating e-learning storyboards to also write audio and video scripts as part of the process. This will enhance the ability of those viewing the storyboard to visualise how the final e-learning course will look.
Plan for Multiple Screen Types
If you anticipate that learners will complete the course on different types of devices with different sizes of screen, you will need to reflect this in your storyboard designs. This could mean, for example, creating multiple layouts to represent how the course will look on a computer screen and a phone.
Test the Flow
E-learning storyboards are supposed to be fluid in their design up to the point where they are signed off and the project moves onto the development stages. Therefore, it is important during the creation process to regularly test the flow of the course, going through the storyboard as if you were a learner. Does it flow naturally? Are there any gaps in the content?
Seek Feedback
Make sure you get stakeholders, SMEs (Subject Matter Experts), and learners to review the storyboard and provide feedback.
Making the Most of E-Learning Storyboards
The primary function of an e-learning storyboard is to communicate the design of the course and the flow of content. The process ensures everyone is aligned with the concept and understands what the final product will look like before the project moves to the development stage. As a result, ensuring your e-learning storyboards are as clear and comprehensive as possible will save time and money while also reducing the number of revisions required in the latter phases of the project.